How to Mount and Wire a Trolling Motor: Complete DIY Guide

Salem Hassan founded Travelcamp RV and brings 30+ years of hands-on RV, marine, and powersports retail experience to every review.
✎ Reviewed by Salem Hassan — Founder, Travelcamp RV · 30+ years in RV, marine, and powersports retail
Why trust us
TopBoatGear articles are researched by the Searchshop Editorial team using manufacturer specs, marine industry sources, and feedback from hands-on boaters. Our standard is saltwater first — if a product is not rated or proven for marine environments, we say so. We may earn a commission on qualifying purchases; it does not change what we recommend. If a product fails in saltwater, the article changes.
🛠 What you'll need
-
 Check Price on Amazon →Outboard Engines: Maintenance, Troubleshooting, and Repair, Second Edition: Maintenance, Troubleshooting, and Repair★★★★★ (161)
 -
 Check Price on Amazon →Trolling Motor Plug,Professional Waterproof Trolling Motor Plugs 12V-24V,8 Gauge 2 Wire Trolling Motor Plug and Receptacle for Minn Kota Boat,Trolling Motor Quick Connect Easy to Use$9.99★★★★★ (556)
 -
 Check Price on Amazon →Coastal Cruising Under Power: How to Buy, Equip, Operate, and Maintain Your Boat$29.00★★★★☆ (149)
 -
 Check Price on Amazon →Trolling Motor Cable Management Mount Compatible with Minn Kota Ultrex, Wire Organizer Bracket for Fishing Boat, Reduced Cable Strain and Organized Wiring$28.00
How to Mount and Wire a Trolling Motor: Complete DIY Guide
If you’re wondering how to wire and mount trolling motor systems the right way, the good news is that most boat owners can handle the job with basic tools, careful planning, and a little patience. We researched the most common mounting methods, wiring layouts, and accessory options to build this practical guide for DIY boaters. Whether you’re installing a bow-mount or transom-mount unit, the goal is the same: a secure mount, clean wiring, and safe power delivery for dependable time on the water.
Comparison Table

| Product Type | Best For | Key Benefit | Potential Drawback |
|---|---|---|---|
| Quick-release mounting bracket | Bow-mount motors | Easy removal for storage and security | Adds cost and height to the mount |
| Trolling motor plug and receptacle kit | Clean electrical disconnect | Fast connect/disconnect and safer wiring | Must be matched to amperage and voltage |
| Manual reset circuit breaker | Electrical protection | Protects motor and wiring from overload | Requires proper sizing to work correctly |
| Marine-grade battery box/tray | Battery security | Helps secure batteries in rough water | Takes up space in smaller boats |
| Heavy-gauge marine wire kit | Long cable runs | Reduces voltage drop and heat buildup | More expensive than undersized wire |
Product Pros and Cons
Quick-Release Mounting Bracket
Pros:
- Simplifies motor removal
- Helpful for theft prevention
- Makes off-season storage easier
Cons:
- Additional installation step
- Can slightly raise motor mounting height
Trolling Motor Plug and Receptacle Kit
Pros:
- Cleaner than hardwiring
- Easier maintenance and battery access
- Reduces strain on terminals
Cons:
- Poor-quality kits may overheat
- Incorrect amp rating can cause problems
Manual Reset Circuit Breaker
Pros:
- Important safety protection
- Easy to reset after a trip
- Often required by manufacturers
Cons:
- Must be mounted in a dry, accessible location
- Wrong breaker size reduces protection
Marine Battery Box or Tray
Pros:
- Secures battery weight properly
- Helps organize the battery compartment
- Improves safety during transport
Cons:
- Adds bulk
- Some lids interfere with tight compartments
Heavy-Gauge Marine Wire Kit
Pros:
- Supports efficient power delivery
- Better for longer runs
- More durable in marine environments
Cons:
- Stiffer and harder to route
- Higher upfront cost
Key Takeaways
- Match the trolling motor thrust and shaft length to your boat size and bow height.
- Use the correct battery voltage, wire gauge, circuit breaker, and marine-grade connectors.
- Always disconnect battery power before installation or wiring changes.
- Seal mounting holes properly to prevent water intrusion and deck damage.
- A quick-release bracket, plug-and-receptacle kit, and resettable breaker make future maintenance easier.
What You’ll Need Before You Start

Before installation, gather all tools and parts so the job goes smoothly.
Basic Tools
- Drill and drill bits
- Screwdrivers and socket set
- Measuring tape
- Pencil or painter’s tape for marking
- Wire cutters and crimpers
- Heat gun for heat-shrink connectors
- Marine sealant
- Stainless steel mounting hardware
Electrical Supplies
- Marine-grade wire sized for your motor and cable run
- Trolling motor plug and receptacle
- Resettable circuit breaker
- Ring terminals and heat-shrink butt connectors
- Battery trays and tie-down straps
- Cable loom or clamps for wire routing
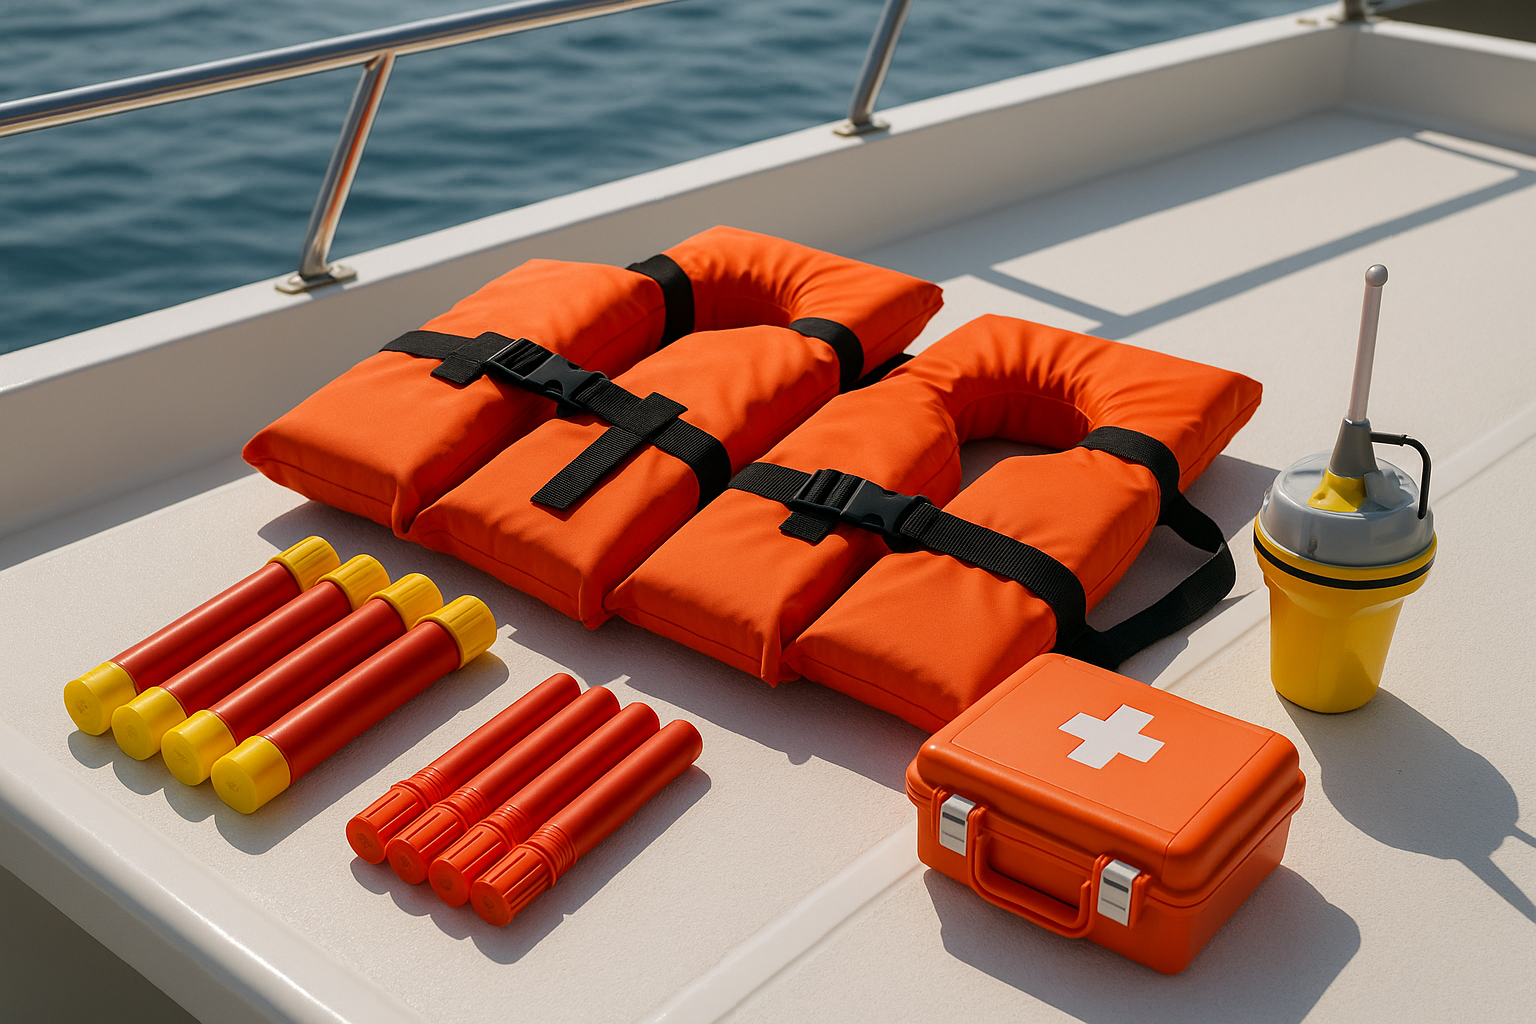
Safety Gear
- Safety glasses
- Work gloves
- Battery terminal covers
Choosing the Right Trolling Motor Setup
Before we mount anything, we need to confirm that the motor matches the boat.
Bow Mount vs. Transom Mount
Bow Mount
Best for precise boat control, bass boats, and anglers who want hands-free steering with foot or remote control.
Transom Mount
Best for smaller jon boats, inflatables, and simple setups where easy installation matters most.
Voltage and Thrust Basics
- 12V motors: Common for smaller boats and lighter loads
- 24V motors: Better for medium boats, more thrust, longer run time efficiency
- 36V motors: Ideal for larger fishing rigs and heavy-duty use
A rough rule is about 2 pounds of thrust per 100 pounds of fully loaded boat weight, though wind and current often justify sizing up.
Buyer’s Guide: Recommended Accessories for Mounting and Wiring
The right accessories make installation safer, cleaner, and easier to service later.
How to Mount a Trolling Motor
The exact process varies by motor brand and mount style, but the general steps are similar.
1. Choose the Mounting Location
For a bow-mount motor, place the base where the shaft can deploy and stow without hitting rails, cleats, lights, or the rub rail. For a transom-mount motor, confirm the transom is structurally sound and gives the prop enough depth in the water.
Safety note: Make sure the chosen area has backing support underneath if needed. Thin decks may crack without reinforcement.
2. Check Clearance in Stowed and Deployed Positions
Set the motor in place before drilling. Open hatches, check bow lights, and ensure the head of the motor clears the boat when stowed.
Safety note: Never assume fitment by eye alone. Dry-fitting prevents expensive mistakes.
3. Mark and Drill the Mounting Holes
Use the bracket or mount as a template. Mark carefully, then drill pilot holes first. If your deck is fiberglass or aluminum, use the proper drill bit and moderate pressure.
Safety note: Check below the drilling area for wiring, fuel lines, hoses, or structural members before drilling.
4. Apply Marine Sealant
Add marine sealant around each hole to help prevent water intrusion. This is especially important on fiberglass decks and wood-cored structures.
5. Bolt the Mount in Place
Use stainless steel bolts, washers, lock washers, and lock nuts where possible. Tighten evenly so the mount sits flat without twisting.
When to Use a Backing Plate
If the deck flexes or the motor is high-thrust, we recommend adding an aluminum or composite backing plate underneath for better load distribution.
6. Attach the Motor to the Bracket
Once the bracket is secure, install the motor according to the manufacturer’s instructions. Confirm the latch locks fully and the shaft deploys smoothly.
Safety note: Keep fingers clear of pinch points around spring-loaded brackets and folding mounts.
How to Wire a Trolling Motor
Now let’s cover the electrical side of how to wire and mount trolling motor setups correctly.
1. Confirm Motor Voltage and Battery Configuration
Match the motor to the battery bank:
- 12V motor: one 12V battery
- 24V motor: two 12V batteries wired in series
- 36V motor: three 12V batteries wired in series
Do not connect a 12V motor to a 24V or 36V system.
Safety note: Disconnect all battery terminals before handling wires.
2. Select the Correct Wire Gauge
Longer wire runs require heavier wire to avoid voltage drop. Many trolling motor installations use 6 AWG or 8 AWG wire, but always verify based on amperage and total circuit length.
Why Wire Size Matters
Undersized wire can cause:
- Reduced motor performance
- Excess heat
- Tripped breakers
- Premature component wear
3. Install a Circuit Breaker Near the Battery
Mount a manual reset breaker on the positive lead as close to the battery as practical. This protects the wiring and motor from overload or short circuits.
4. Route the Positive and Negative Cables
Run marine-grade cables from the battery compartment to the plug location or directly to the motor leads. Support the wiring with clamps and keep it away from sharp edges, moving parts, and fuel system components.
Safety note: Do not run loose wires where they can chafe through insulation.
5. Install the Plug and Receptacle
If using a trolling motor plug, wire it according to the manufacturer’s terminal diagram. Observe polarity carefully.
Typical Connection Basics
- Positive cable to positive terminal
- Negative cable to negative terminal
- For 24V and 36V systems, follow the series wiring diagram exactly
6. Make Marine-Grade Connections
Use crimped heat-shrink terminals or butt connectors rated for marine use. After crimping, heat the connector to seal out moisture.
7. Secure the Batteries
Install batteries in trays or boxes with straps. Rough water can shift unsecured batteries and damage wiring.
8. Reconnect Power and Test the System
Reconnect the battery terminals, reset the breaker, and test the motor at low speed first. Check steering, prop rotation, and cable warmth after a short run.
Safety note: If you smell hot insulation, see sparking, or notice breaker trips, shut everything down immediately and recheck the wiring.
24V Trolling Motor Series Wiring Overview
For a 24V setup using two 12V batteries:
- Connect the motor negative to Battery 1 negative.
- Connect a jumper from Battery 1 positive to Battery 2 negative.
- Connect the motor positive, through the breaker, to Battery 2 positive.
For 36V systems, the same concept applies with an additional battery in series. Always verify the exact diagram from the motor manufacturer.
Common Installation Mistakes to Avoid
Mounting Mistakes
- Drilling before checking stow/deploy clearance
- Using weak hardware or no backing plate
- Skipping sealant on exposed holes
Wiring Mistakes
- Using undersized wire
- Omitting the circuit breaker
- Reversing polarity
- Mixing up series and parallel battery wiring
- Using automotive instead of marine-grade connectors
Final Setup Checklist
Before heading to the ramp, verify the following:
- Mount is tight and stable
- Motor deploys and stows cleanly
- Battery straps are tight
- Breaker is installed and accessible
- Plug connections are secure
- Wires are supported and protected
- Propeller area is clear
- Voltage matches the motor requirements
FAQ
What size wire should I use for a trolling motor?
That depends on the motor’s amperage draw and the total cable length. In many installations, 6 AWG or 8 AWG marine wire is common. We recommend checking the motor manufacturer’s chart and sizing up if your run is long.
Do I need a circuit breaker for a trolling motor?
Yes, in most cases absolutely. A properly sized manual reset breaker helps protect the motor and wiring from overload and short circuits. Many manufacturers require one.
Can I mount a trolling motor without a quick-release bracket?
Yes. Many motors bolt directly to the deck or transom mount area. A quick-release bracket is optional, but it makes removal, storage, and servicing much easier.
How do I wire two 12V batteries for a 24V trolling motor?
Wire them in series: connect the positive of one battery to the negative of the second battery with a jumper, then connect the motor leads to the remaining free negative and positive terminals. Follow your motor’s official wiring diagram exactly.
What’s the best place to mount a bow trolling motor?
Usually on the bow where the shaft can deploy cleanly and the motor head can stow without hitting rails, lights, or hatches. The location should also provide enough structural support underneath.
Get your free Get Our Free Boat Gear Checklist
The essential marine gear list every boater should have before hitting the water.
Our Recommendation
If you’re handling this as a DIY project, we recommend investing in three things first: a quality circuit breaker, marine-grade wire of the correct gauge, and a reliable plug-and-receptacle kit. Those components have a major impact on safety and long-term performance. For bow-mount setups, a quick-release bracket is also worth serious consideration.
With the right parts and careful planning, learning how to wire and mount trolling motor systems is very manageable. Take your time, double-check every connection, and prioritize safety over speed. A clean installation will reward you with quieter boat control, better reliability, and fewer headaches on the water.