How to Winterize Your Boat's Freshwater and Plumbing System

Salem Hassan founded Travelcamp RV and brings 30+ years of hands-on RV, marine, and powersports retail experience to every review.
✎ Reviewed by Salem Hassan — Founder, Travelcamp RV · 30+ years in RV, marine, and powersports retail
Why trust us
TopBoatGear articles are researched by the Searchshop Editorial team using manufacturer specs, marine industry sources, and feedback from hands-on boaters. Our standard is saltwater first — if a product is not rated or proven for marine environments, we say so. We may earn a commission on qualifying purchases; it does not change what we recommend. If a product fails in saltwater, the article changes.
🛠 What you'll need
-
 Check Price on Amazon →How Boat Things Work: An Illustrated Guide$12.48★★★★★ (430)
 -
 Check Price on Amazon →Boat Plumbing Basics Made Simple: A Practical Guide for Boat Owners to Fresh Water Systems, Marine Toilets, Bilge Pumps, Seacocks, Tanks, Hoses, and ... (The Practical Boat Owner’s Handbook Series)$14.90
 -
 Check Price on Amazon →Understanding Boat Plumbing and Water Systems (Sheridan House Guides)$18.38★☆☆☆☆ (1)
 -
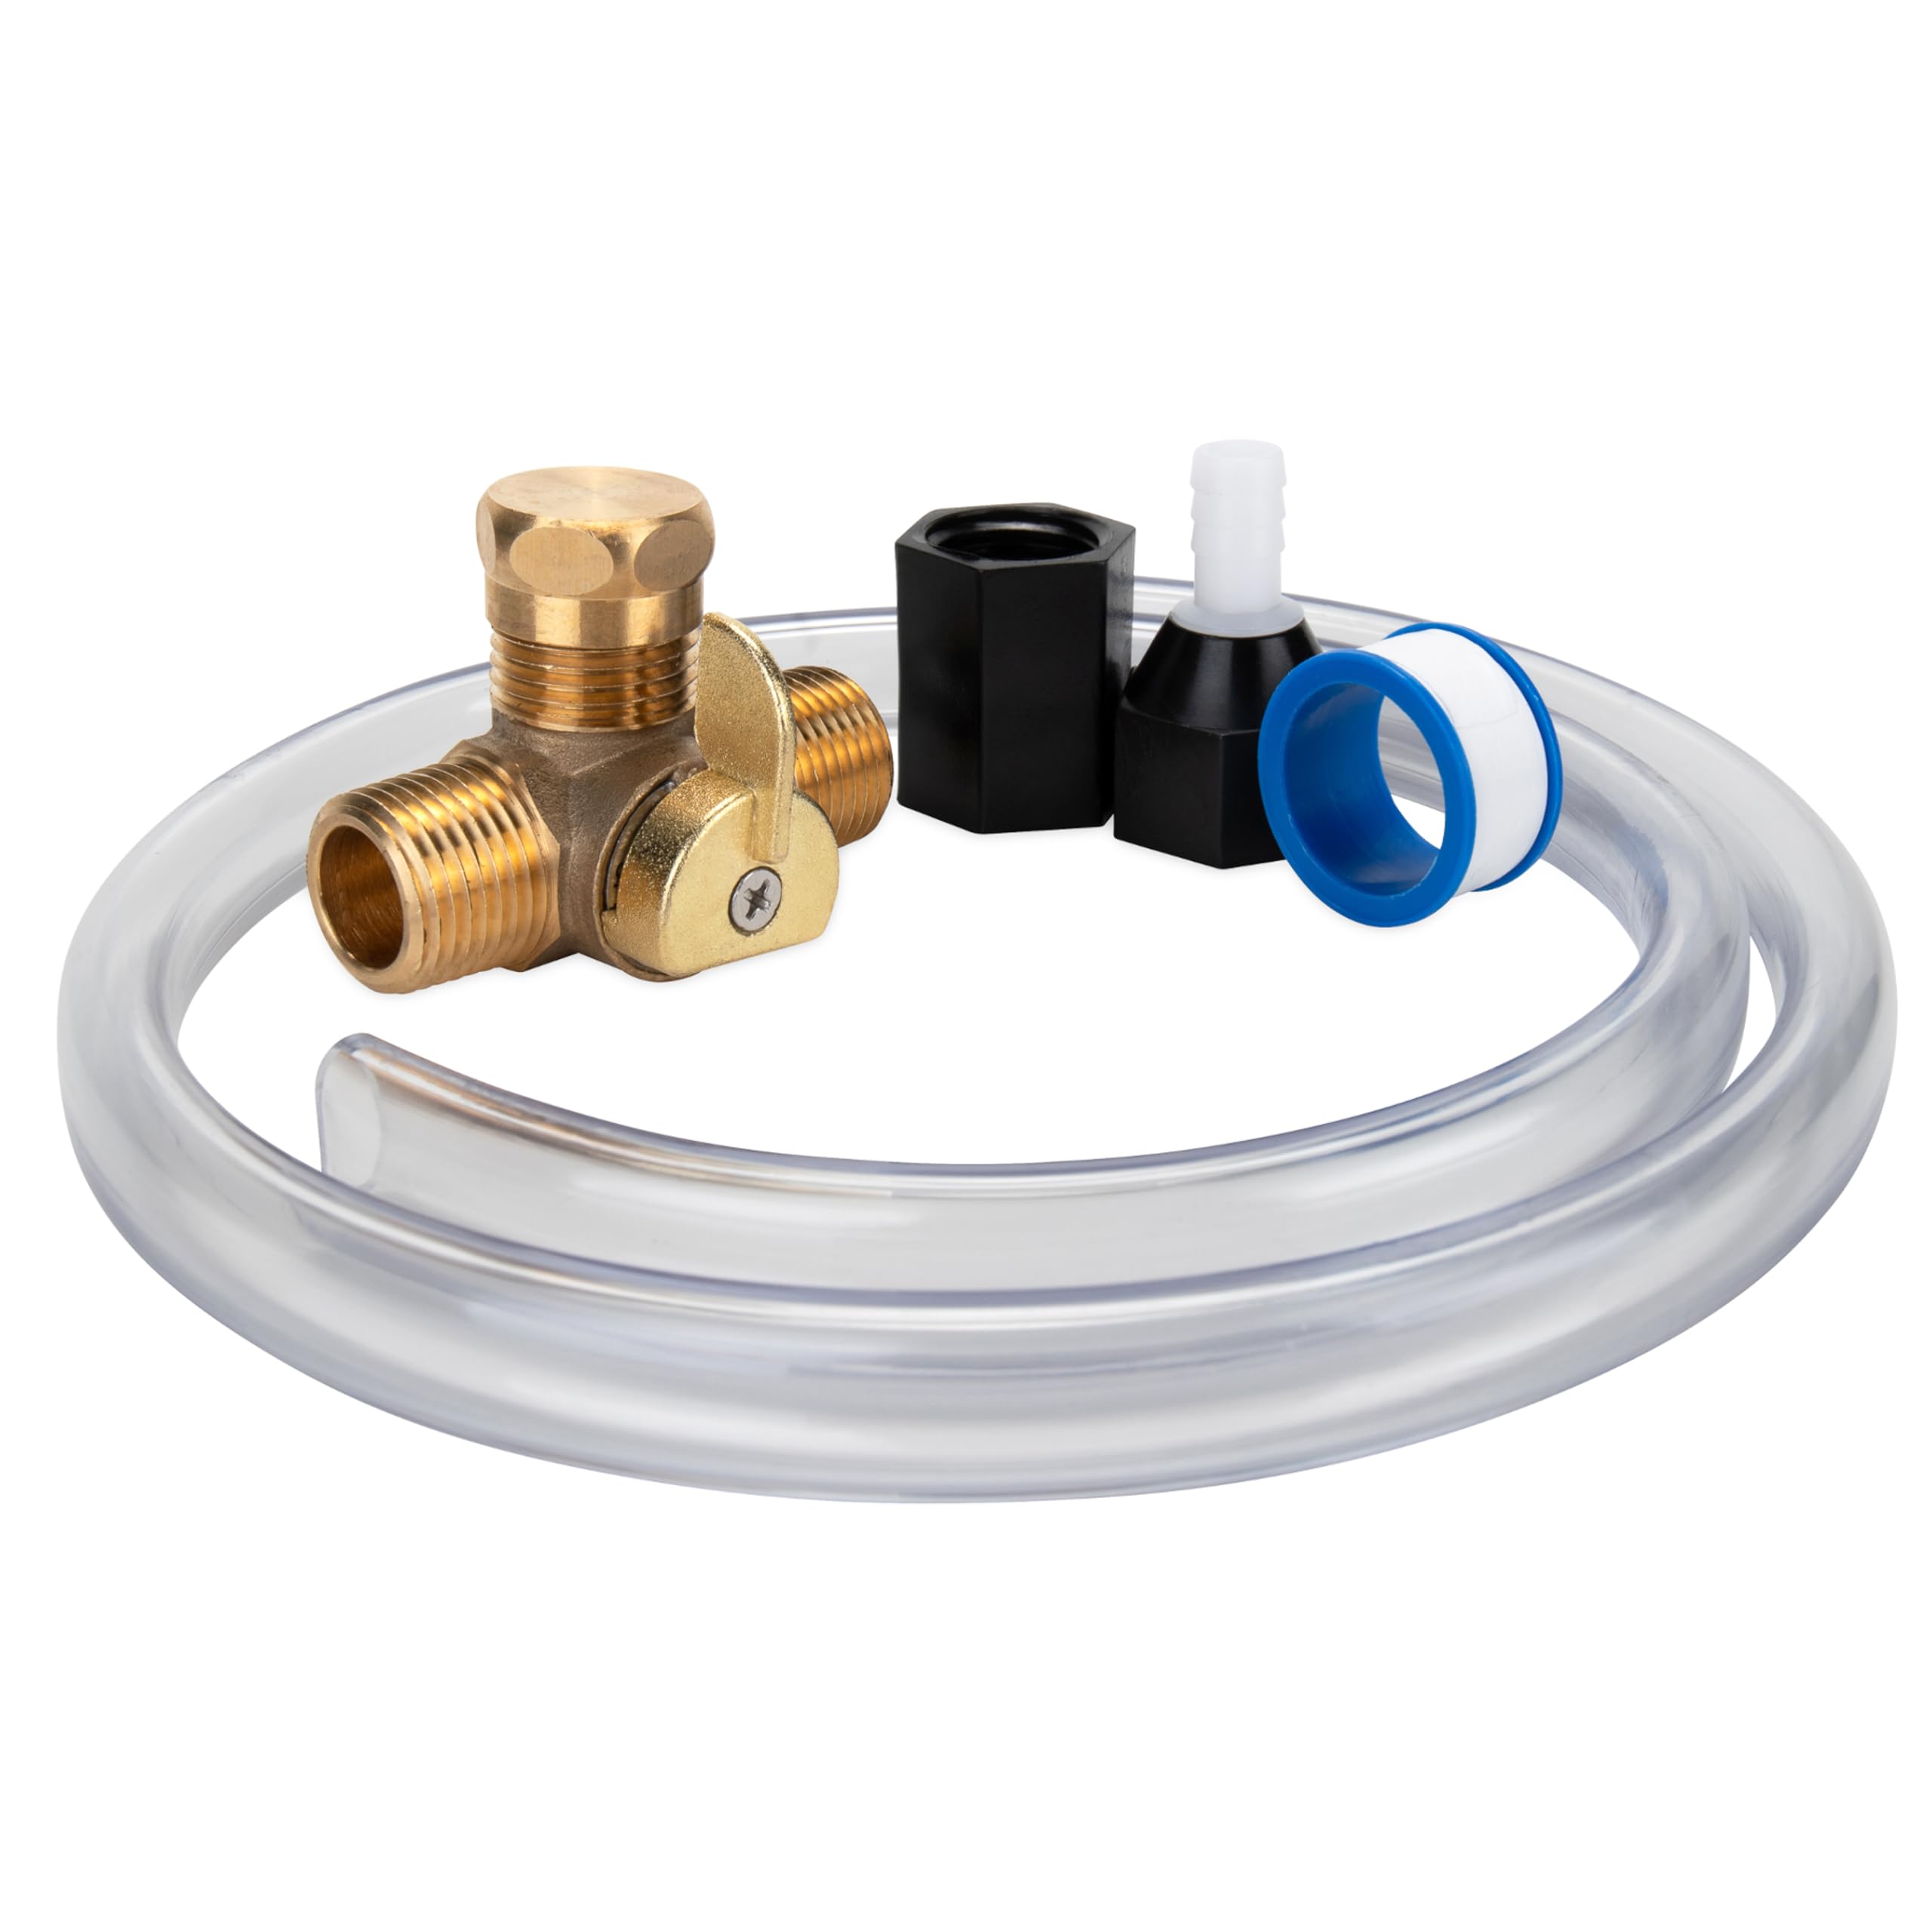 Check Price on Amazon →Camco Permanent Pump Converter Winterizing Kit- Allows You to Use Boat/RV Water Pump to Fill Pipes With Antifreeze - CSA Low Lead Content Certified (36543)$17.99★★★★★ (3,383)
How to Winterize Your Boat's Freshwater and Plumbing System
If you're wondering how to winterize boat water system components before freezing weather hits, the good news is that the job is straightforward when you follow the right sequence. Your boat’s freshwater tank, lines, pump, faucets, shower, and water heater can all suffer expensive damage if trapped water freezes and expands. We researched the best practices used by boat owners, marine techs, and equipment manufacturers to put together a practical, reliable process that helps protect your plumbing system through the off-season.
Key Takeaways
- Drain as much water as possible before adding antifreeze.
- Use only non-toxic marine/RV antifreeze rated for potable water systems.
- Bypass and drain the water heater so you do not waste gallons of antifreeze.
- Run antifreeze through every outlet, including showers, washdowns, and heads connected to freshwater plumbing.
- Label the system in spring and flush thoroughly before use.
Comparison Table

| Product Type | Best For | Key Benefit | Possible Drawback |
|---|---|---|---|
| Marine/RV Non-Toxic Antifreeze | All potable water systems | Freeze protection for lines, pumps, and fixtures | Must be flushed fully in spring |
| Water Heater Bypass Kit | Boats with hot water tanks | Saves antifreeze and simplifies winterizing | Requires installation if not already fitted |
| Pump Winterizing/Converter Kit | Easy antifreeze intake | Reduces waste and speeds up the process | Must match your pump plumbing size |
| Inline Pump Strainer | Pump protection during season and layup prep | Helps catch debris before it damages the pump | Needs regular cleaning and draining |
1. Marine/RV Non-Toxic Antifreeze
Pros
- Safe for potable plumbing systems when used as directed
- Easy to identify in lines thanks to pink color
- Widely available in marine and RV supply stores
Cons
- Quality and burst protection ratings vary by brand
- Can be diluted if you do not drain the system well first
2. Water Heater Bypass Kit
Pros
- Prevents wasting several gallons of antifreeze
- Makes annual winterization much faster
- Reduces the chance of leaving water in the heater circuit
Cons
- Installation can be tight in small bilge or locker spaces
- Valve orientation must be labeled clearly to avoid confusion
3. Pump Winterizing/Converter Kit
Pros
- Lets the freshwater pump draw antifreeze directly from the jug
- Cleaner and more efficient than filling the tank
- Useful year after year
Cons
- Some setups require extra hose adapters
- Poor installation can introduce air leaks on the suction side
4. Inline Pump Strainer
Pros
- Protects the pump from debris and sediment
- Easy to inspect during winterization
- Inexpensive preventive maintenance item
Cons
- Must be drained completely before freezing weather
- Cracked bowls can leak if overtightened
Why Winterizing the Freshwater System Matters
A boat’s plumbing system is full of places where water can hide: low spots in hoses, pump chambers, faucet cartridges, accumulator tanks, filters, and water heater tanks. Even a small amount of trapped water can crack fittings, split hoses, or damage pumps when temperatures drop below freezing.
We recommend treating freshwater winterization as separate from engine winterization. Even if the engine is protected, the domestic water system still needs its own process. Replacing a burst fitting in the spring is inconvenient; replacing a cracked water heater or pump can be expensive.
What You'll Need Before You Start

Before beginning, gather the supplies so you can complete the process in one session.
Basic Supplies Checklist
- Non-toxic marine/RV antifreeze for potable water systems
- Water heater bypass kit, if your boat does not already have one
- Basic hand tools: screwdrivers, pliers, adjustable wrench
- Buckets or absorbent towels
- Pump converter kit or short hose for drawing antifreeze into the system
- Owner’s manuals for the boat and water heater
- Labels or reminder tags for spring commissioning
Safety Notes Before Winterizing
- Turn off electrical power to the water heater before draining it.
- Shut off pressure water and let the system depressurize before disconnecting hoses.
- Use only non-toxic antifreeze labeled for marine or RV potable systems. Never use automotive antifreeze.
- Work in a ventilated area and clean spills promptly to reduce slip hazards.
- Check local regulations for disposal of drained water and old filter cartridges.
Step-by-Step: How to Winterize Your Boat's Freshwater and Plumbing System
1. Turn Off Power and Water Sources
Start by shutting off the freshwater pump, disconnecting shore water if connected, and turning off power to the water heater at the breaker. If your boat has an engine-heated water tank, allow it to cool before touching fittings.
Safety Note
Never energize a water heater when it is empty. Dry-firing can destroy the heating element quickly.
2. Drain the Freshwater Tank
Open the freshwater tank drain if your boat has one. If not, pump as much water out as possible through a faucet or use the boat’s pump-out method specified by the manufacturer. The goal is to remove the bulk of the water before introducing antifreeze.
If practical, leave the tank mostly empty for winter. Some owners choose to add a small amount of antifreeze to the tank, but many systems can be winterized more efficiently by drawing antifreeze directly into the plumbing lines rather than filling the whole tank.
3. Empty the Water Heater
Locate the water heater and shut off any inlet valves. Open the pressure relief valve carefully, then remove the drain plug or open the drain fitting. Let the tank empty completely.
A six-gallon water heater can consume a lot of antifreeze if not bypassed, so we strongly recommend draining and bypassing it.
Safety Note
Water inside the heater may still be hot. Open fittings slowly and keep hands clear of the discharge path.
4. Install or Activate the Water Heater Bypass
If your system includes a bypass, set the valves so antifreeze will not flow into the water heater. If you do not have one, installing a bypass kit is one of the best upgrades for easier seasonal maintenance.
A typical bypass routes water around the heater so antifreeze can reach the hot water lines without filling the heater tank itself.
5. Drain Low Points, Filters, and Accessories
Open all hot and cold faucets. Drain low-point lines if your system has dedicated drains. Remove and empty inline strainers, water filter housings, and accumulator tanks if possible. Don’t forget transom showers, galley sprayers, washdowns, and any freshwater-fed head or bidet attachment.
This step reduces dilution and helps the antifreeze reach full freeze protection strength.
6. Set Up the Antifreeze Feed
Use a winterizing kit, pump converter, or a short suction hose connected to the freshwater pump inlet. Place the hose into a jug of marine/RV antifreeze.
We recommend this method because it uses less antifreeze than pouring gallons into the freshwater tank, and it gets product into the lines faster.
7. Pump Antifreeze Through Every Fixture
Turn on the freshwater pump and open the fixture closest to the pump. Run cold water until pink antifreeze appears, then close it and repeat on the hot side. Move fixture by fixture through the boat until every outlet runs pink.
Include:
- Galley sink faucet
- Head sink faucet
- Shower wand and hose
- Transom or cockpit shower
- Washdown spigots
- Refrigerator or icemaker supply line, if installed
- Freshwater-flush toilet connections, if applicable
Safety Note
Do not stop after seeing a faint color change. Let antifreeze run long enough to displace residual water fully, especially in long hose runs.
8. Protect Pumps, Sumps, and Drains
If your sink or shower drains feed a sump box, pour a small amount of marine/RV antifreeze into each drain so the sump, trap areas, and discharge plumbing are protected. If your system includes a separate washdown or freshwater transfer pump, winterize that circuit too.
This is also a good time to inspect hose clamps, check valves, and pump strainers for wear.
9. Final Checks and Label the System
Once all outlets show solid pink antifreeze, switch off the pump. Open each faucet briefly to confirm pressure is relieved, then close them. Leave a tag at the panel or helm noting that the freshwater system has been winterized and the water heater is bypassed and drained.
That reminder can prevent accidental spring startup mistakes.
Common Mistakes to Avoid
Forgetting One Fixture
A single overlooked shower hose or washdown outlet can freeze and split. We recommend using a checklist and moving in a consistent order from bow to stern or port to starboard.
Using the Wrong Antifreeze
Only use non-toxic pink marine/RV antifreeze intended for potable plumbing systems. Automotive antifreeze is unsafe for this application.
Skipping the Water Heater Bypass
Without a bypass, you waste antifreeze filling the heater tank and may still leave water trapped if it was not drained properly.
Not Draining Filters and Strainers
Filter housings and pump strainers are common failure points because they trap water in small plastic chambers.
Buyer’s Guide: Best Products for Winterizing a Boat Water System
The right supplies make the job faster, cleaner, and more reliable. We researched the most useful product categories for seasonal boat plumbing protection.
How Much Antifreeze Do You Need?
The exact amount depends on the size and complexity of your plumbing system. A small boat with one sink may need only 1 to 2 gallons. A cruiser with a galley, head sink, shower, transom shower, water heater bypass, and multiple branch lines may need 3 to 5 gallons or more.
We recommend buying an extra jug. Running short halfway through the job increases the chance of leaving one line unprotected.
Spring De-Winterizing Tips
When the weather warms up, reverse the process carefully:
- Return the water heater bypass valves to normal operation.
- Reinstall drain plugs and filter housings.
- Fill the freshwater tank with clean water.
- Flush every outlet until color and taste are gone.
- Sanitize the freshwater system if recommended by the manufacturer.
- Inspect for leaks before the first trip.
If any fitting drips in spring, address it before pressurizing the system fully.
FAQ
1. Can we use automotive antifreeze to winterize a boat water system?
No. We recommend using only non-toxic marine/RV antifreeze designed for potable water plumbing. Automotive antifreeze is not appropriate for freshwater systems.
2. Do we need to put antifreeze in the freshwater tank?
Usually, no. In many boats, it is more efficient to drain the tank and use a pump converter kit to pull antifreeze directly into the plumbing lines. Check your manufacturer’s guidance for your specific layout.
3. Should we bypass the water heater every time?
Yes, if your boat has a water heater. Bypassing saves antifreeze, shortens the job, and helps ensure the heater is properly drained instead of partially filled.
4. How do we know when a line is protected?
Run each faucet or outlet until you see a strong, consistent pink flow on both hot and cold sides. A weak or diluted pink stream may mean water is still present.
5. What happens if we miss one shower or washdown line?
That line can freeze, expand, and crack a hose, fitting, valve, or fixture body. One missed branch can create a leak that only shows up when you recommission the system in spring.
Get your free Get Our Free Boat Gear Checklist
The essential marine gear list every boater should have before hitting the water.
Final Thoughts
Learning how to winterize boat water system components properly is one of the most valuable off-season maintenance skills a boat owner can have. The process is less about fancy tools and more about following a careful sequence: drain the system, bypass the water heater, feed the right antifreeze, and confirm every outlet is protected.
2.48★★★★★ (430)Check Price on Amazon →We researched the methods marine professionals rely on most, and the biggest takeaway is simple: thoroughness matters more than speed. If you use a checklist, the right marine-safe products, and a little patience, you can protect your boat’s freshwater and plumbing system from avoidable winter damage and make spring launch much easier.