How Does a Fish Finder Work? Complete Beginner's Guide

Alana Azzouz is a Senior Editor at Searchshop Media Network with over a decade of experience in consumer content quality and editorial standards. She has reviewed thousands of product guides, buying articles, and comp…
✎ Reviewed by Alana Azzouz — Senior Editor
Why trust us
TopBoatGear articles are researched by the Searchshop Editorial team using manufacturer specs, marine industry sources, and owner feedback. Our goal is simple: when a boater searches for gear, the recommendations they read online should match what a knowledgeable dealer or experienced owner would actually suggest. We may earn a commission on qualifying affiliate purchases; it doesn't influence what we recommend — if a product changes or a better option comes along, the article changes too.
How Does a Fish Finder Work? Complete Beginner's Guide
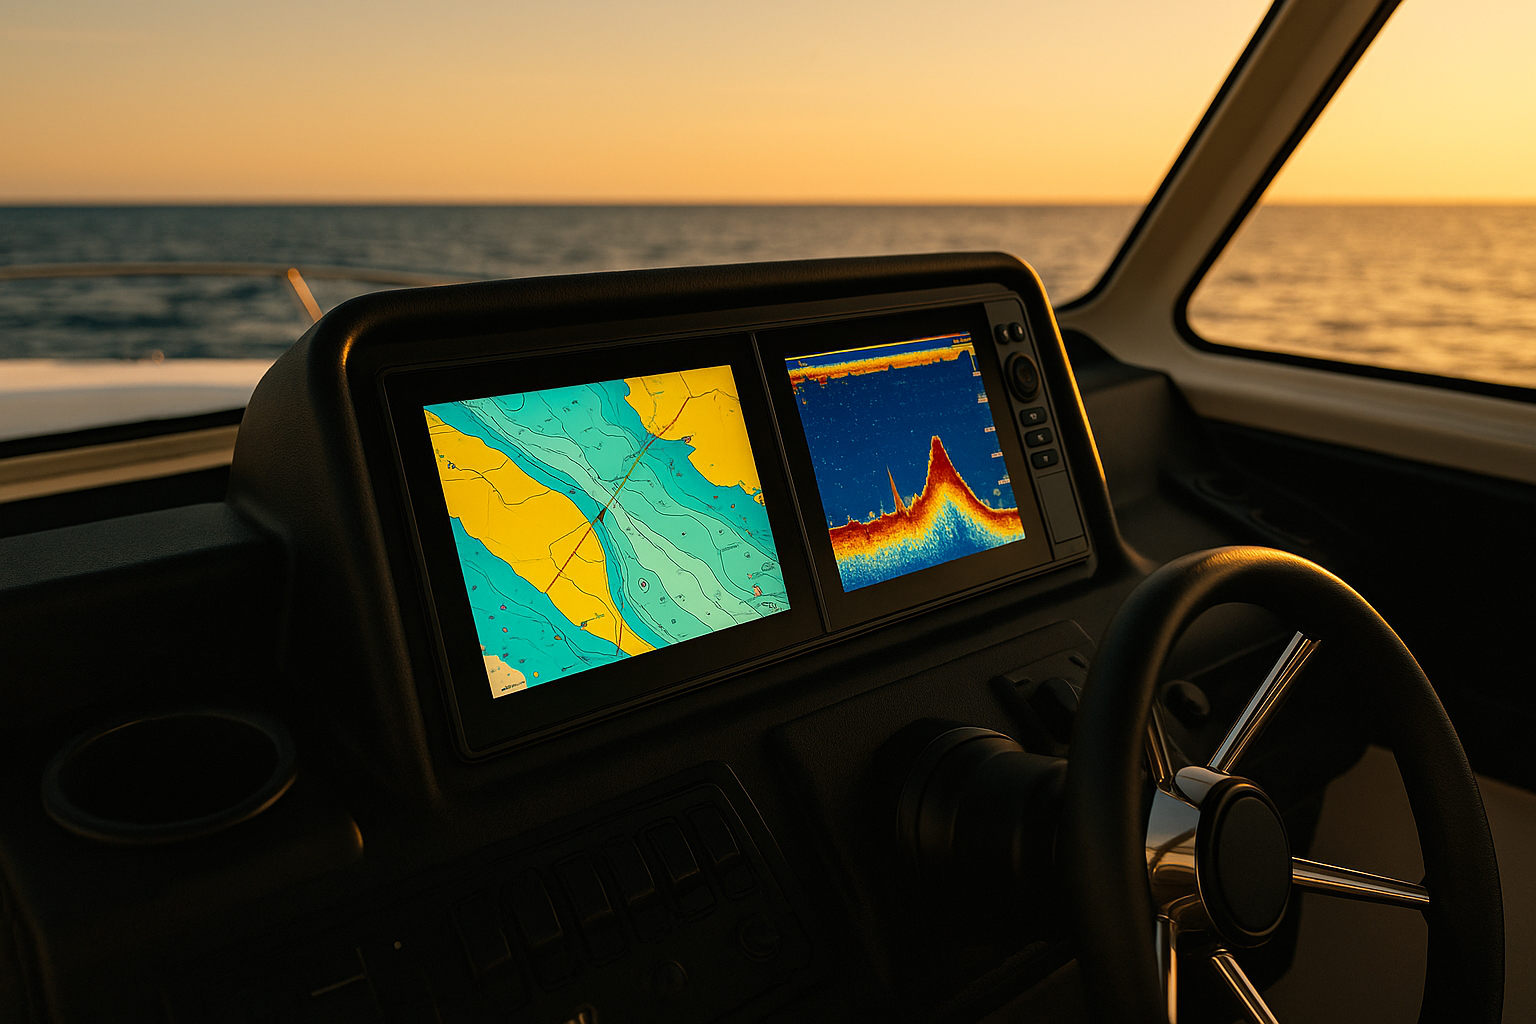
If you've ever wondered how does a fish finder work, the short answer is simple: it uses sonar to send sound waves into the water and then measures the echoes that bounce back from fish, structure, and the bottom. We’ve tested fish finders on small skiffs, bass boats, and center consoles, and once you understand the basics, the screen becomes much easier to read. In this guide, we’ll explain the technology, the key parts, how to interpret the display, and what to look for before you buy.
Fish Finder Sonar Comparison Table

| Sonar Type | What It Shows | Best Use | Pros | Cons |
|---|---|---|---|---|
| Traditional 2D | Fish, depth, bottom | Everyday use | Simple, affordable, reliable | Less detail |
| CHIRP | Clearer fish and structure separation | Better target detail | Sharper readings, improved clarity | Higher cost |
| Down Imaging | Detailed view directly below | Structure identification | Photo-like detail | Narrow coverage |
| Side Imaging | Detailed view to both sides | Covering water fast | Finds structure quickly | Learning curve, pricier |
What Is a Fish Finder?
A fish finder is an electronic device that helps us locate fish and understand what is below the boat. It does this by turning sound into a visual picture on a screen. Most modern units can show:
- Water depth
- Bottom contour
- Weed lines and brush piles
- Bait balls
- Individual fish arches or marks
- Water temperature
- Boat speed, with the right sensors
- GPS mapping on combo units
At its core, a fish finder has three main parts:
- Display unit
- Transducer
- Power source and wiring
How Does a Fish Finder Work?

A fish finder works by using sonar. The transducer sends out pulses of sound underwater. When those sound waves hit something solid—like a fish, rock, stump, or the lake bottom—they bounce back. The transducer receives those echoes, and the fish finder’s processor converts them into an image on the screen.
The Basic Sonar Process
Here’s the step-by-step version:
- The transducer emits a sound pulse.
- The pulse travels through the water.
- It hits an object or the bottom.
- The sound reflects back as an echo.
- The unit measures how long the echo took to return.
- It calculates depth and displays the target.
Because sound travels efficiently in water, sonar can give us a reliable picture of what’s below the boat in real time.
Why Fish Show Up on the Screen
Fish show up because their bodies, especially their swim bladders, reflect sound differently than the surrounding water. A swim bladder is a gas-filled organ, and gas reflects sonar strongly. That’s why fish often appear as arches, dots, or bright marks depending on the sonar mode and boat speed.
The Main Parts of a Fish Finder
Display Unit
The display is where we read sonar returns. Better screens make a huge difference in sunlight, rough water, and when splitting views between sonar and charts.
Key display specs include:
- Screen size: Larger screens are easier to read
- Resolution: Higher resolution shows more detail
- Brightness: Important for full sun use
- Touchscreen vs buttons: Buttons are often easier with wet hands
Transducer
The transducer is the heart of the system. It sends and receives sonar signals. Different transducers support different sonar types and frequencies.
Common mounting styles include:
- Transom-mount: Popular and affordable
- Trolling motor-mount: Common for freshwater anglers
- Through-hull: Great for larger boats and cleaner readings at speed
- In-hull: Protected installation, but not ideal for all sonar types
Power and Wiring
Most fish finders run on a 12V system. Clean wiring matters more than many beginners expect. Poor connections can cause interference, shutdowns, or inaccurate readings.
Understanding Sonar Types
Modern fish finders do more than basic 2D sonar. Here are the main types we recommend learning first.
1. Traditional 2D Sonar
This is the classic fish finder view. It shows a scrolling history of what passed under the boat.
Best for:
- Beginners
- General depth finding
- Locating fish under the boat
- Reading bottom hardness
Pros:
- Easy to learn
- Works well in many conditions
- Usually the most affordable option
Cons:
- Limited detail compared with imaging sonar
- Only shows what is directly under the transducer
2. CHIRP Sonar
CHIRP stands for Compressed High-Intensity Radiated Pulse. Instead of sending one frequency, it sends a range of frequencies. This gives better separation and clearer target detail.
Best for:
- Better fish/structure separation
- Deeper water use
- Anglers who want cleaner readings
Pros:
- Sharper returns
- Better target separation
- Improved performance over standard sonar
Cons:
- Usually costs more
- Performance depends on transducer quality
3. Down Imaging / DownScan
Down Imaging creates a more photo-like view beneath the boat. It’s excellent for identifying brush, timber, rock piles, and transitions.
Best for:
- Structure fishing
- Distinguishing fish from cover
- Learning unfamiliar water
Pros:
- Very detailed structure view
- Easier to identify bottom features
Cons:
- Narrower use than standard sonar
- Less ideal as a stand-alone mode
4. Side Imaging / SideScan
Side Imaging scans to both sides of the boat, helping us cover more water quickly.
Best for:
- Finding schools and structure fast
- Searching flats, points, and ledges
- Tournament anglers and serious recreational users
Pros:
- Covers a wide area
- Great for locating fish-holding structure
Cons:
- More expensive
- Takes practice to interpret
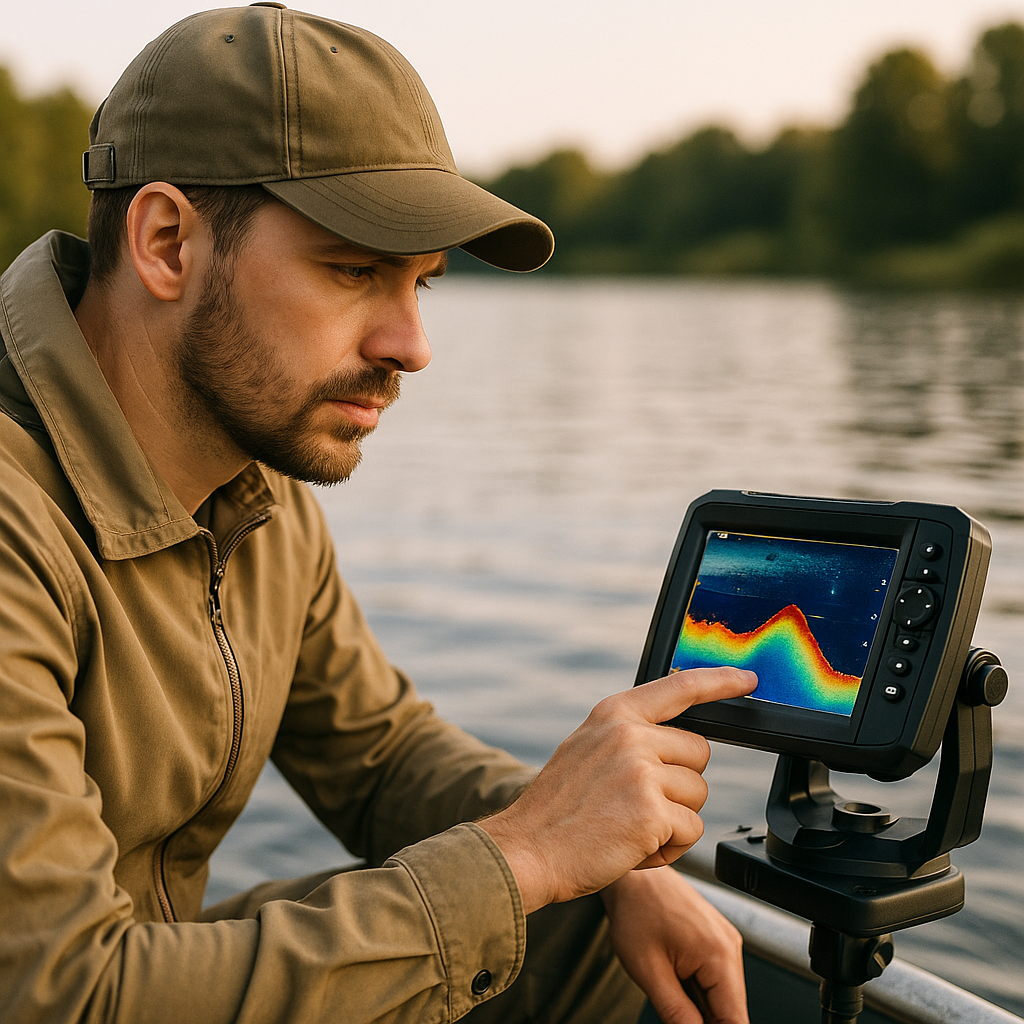
How to Read a Fish Finder Screen
A fish finder is only useful if we know what we’re seeing.
Fish Arches
On traditional sonar, fish often appear as arches because the fish passes through the sonar cone. A full arch usually means the fish moved through the center of the beam. Partial arches can still be fish.
Bait Balls
Bait schools often look like clouds or clusters. Predator fish may appear nearby or below them.
Bottom Hardness
A hard bottom usually appears as a thicker, brighter line. Softer mud bottoms often look thinner or less intense.
Vegetation and Structure
Weeds, timber, brush piles, and rocks create irregular shapes rising from the bottom. Down Imaging and Side Imaging make these much easier to identify than standard sonar alone.
Fish Finder Features Comparison for Buyers
If you’re shopping for your first unit, these are the features we think matter most.
| Feature | Entry-Level Unit | Mid-Range Unit | Advanced Unit |
|---|---|---|---|
| Screen Size | 4-7 inches | 7-9 inches | 9-16+ inches |
| Sonar | 2D or basic CHIRP | CHIRP + Down Imaging | CHIRP + Down + Side Imaging |
| GPS Mapping | Optional | Usually included | Advanced charting |
| Networking | Rare | Limited | Full networking and sharing |
| Best For | Casual anglers, small boats | Weekend anglers | Serious anglers, offshore or tournament use |
Who It’s For
Entry-level fish finders are for:
- New boat owners
- Kayak and jon boat anglers
- Anyone who wants depth and fish location without complexity
Mid-range fish finders are for:
- Weekend anglers
- Bass and inshore fishermen
- Users who want GPS and better structure detail
Advanced fish finders are for:
- Serious anglers
- Offshore fishermen
- Tournament users
- Larger boats with room for bigger screens
Clear Verdict
If we were recommending one category to most beginners, we’d choose a mid-range CHIRP fish finder with GPS and Down Imaging. It offers the best balance of price, ease of use, and useful detail. Entry-level units are fine for basic depth and fish marks, but most anglers outgrow them quickly. Advanced units are excellent, but they can be overkill for a first setup.
How to Install and Set Up a Fish Finder
A correct installation is critical for good readings.
Tools and Materials
Before we start, gather:
- Fish finder display and transducer
- Mounting bracket and hardware
- Drill and bits
- Screwdriver set
- Marine sealant
- Wire connectors or heat-shrink connectors
- Fuse holder and proper fuse
- Zip ties
- 12V power source
Numbered Installation Steps
- Choose the display location. Make sure it’s easy to see and reach from the helm.
- Choose the transducer location. On transom mounts, place it where water flow is clean and not blocked by strakes or the prop.
- Mount the bracket. Use marine sealant on screw holes to prevent water intrusion.
- Install the transducer. Keep it level according to the manufacturer’s instructions.
- Route the cables carefully. Avoid sharp bends and keep sonar cables away from high-interference power wires when possible.
- Connect to power. Use the correct fuse and solid marine-grade connections.
- Power on the unit. Confirm the transducer is recognized.
- Set basic preferences. Choose language, units, sonar mode, and screen brightness.
- Water test the system. Check readings at idle and while on plane if applicable.
- Fine-tune sensitivity and range. Adjust settings on the water for clearer returns.
Safety Tips
- Disconnect battery power before wiring.
- Use marine-grade sealant and connectors.
- Do not drill without checking behind the mounting surface.
- Secure loose wires to prevent chafing.
- Follow the manufacturer’s fuse recommendation.
Common Fish Finder Problems and Fixes
Cluttered Screen
This can come from too much sensitivity, electrical interference, or rough water turbulence around the transducer.
Fix: Lower sensitivity slightly, improve cable routing, and verify transducer placement.
Losing Bottom at Speed
This usually means the transducer is mounted in disturbed water.
Fix: Adjust transducer height or angle, or move it to a cleaner water flow area.
False Fish Readings
Automatic fish icons can be misleading.
Fix: Turn off fish symbols and learn to read raw sonar data.
Common Beginner Mistakes
We see these issues often when testing and setting up new units:
- Buying too small a screen
- Ignoring transducer quality
- Relying only on fish icons
- Not learning sensitivity and frequency settings
- Mounting the transducer in turbulent water
- Expecting the unit to “find fish” without interpretation
Final Thoughts
So, how does a fish finder work? It works by sending sonar pulses into the water, reading the echoes, and turning those returns into a visual display of fish, structure, and bottom contour. Once we understand the role of the transducer, the sonar type, and the screen view, fish finders become much less intimidating. For most new boat owners and anglers, we recommend starting with a reliable CHIRP model that includes GPS and Down Imaging. It gives enough detail to grow into without making the learning curve too steep.
FAQ
1. Do fish finders actually show fish?
Yes, but not always as perfect fish shapes. On traditional sonar, fish often appear as arches or marks. On imaging views, they may appear as dots or bright returns with shadows.
2. Can a fish finder work in shallow water?
Yes. Most fish finders work well in shallow water, though settings may need adjustment. Very shallow water can reduce the time available for sonar returns, so tuning matters.
3. What is the difference between sonar and GPS?
Sonar shows what is under or beside the boat. GPS shows your location, speed, routes, and maps. Many units combine both features.
4. Is CHIRP better than regular sonar?
In most cases, yes. CHIRP usually provides better clarity and target separation than basic single-frequency sonar.
5. Can I install a fish finder myself?
Yes, many boat owners can install one with basic tools and careful planning. The most important parts are proper transducer placement, correct wiring, and safe mounting.
Get your free Get Our Free Boat Gear Checklist
The essential marine gear list every boater should have before hitting the water.